Visual Studio Code is a very feature-rich and versatile text editor that can benefit both developers and system administrators. You can use VS Code to edit your PowerShell scripts, configuration files, and run console commands. The Remote SSH extension allows you to connect to remote computers via SSH and edit files, scripts, configurations, or execute commands on remote Windows or Linux hosts directly from VS Code installed on your computer.
Here’s how to configure a Visual Studio Code SSH client to connect to remote hosts.
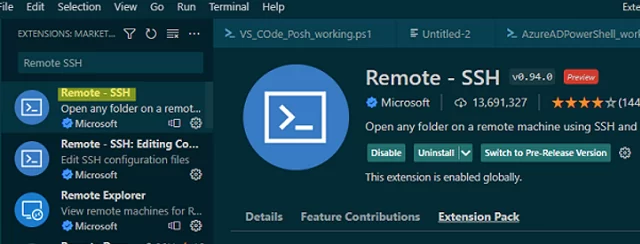
Run VS Code and go to Extensions ( Ctrl + Shift + X ). Now find and install the Remote SSH extension.
This automatically installs the following Remote SSH add-ons: Editing Configuration Files and Remote Explorer (Extension Pack tab).
Select Remote Explorer in the left panel of VSCode to create a new SSH connection. The connection wizard will prompt you to enter:
- SSH connection string:
[email protected] - the path to the configuration file containing the settings for this connection (by default, it’s
C:\Users\%username%\.ssh\config).
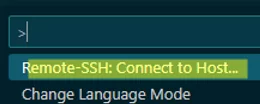
CTRL + SHIFT + P and selecting Remote-SSH: Connect to Host.Once this is done, you can now connect to the remote host via SSH. Select the host from the list and click Connect.
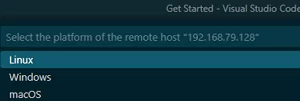
The first time you connect, VSCode prompts you for the platform type on the remote SSH host (Linux/Windows/macOS) and the connection password:
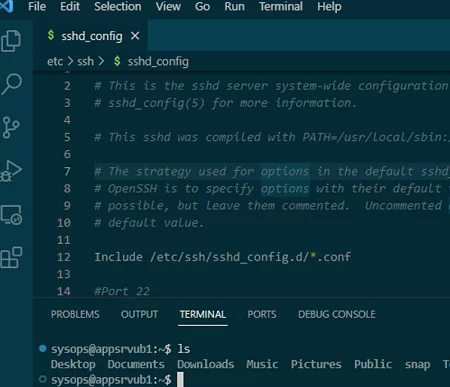
Once connected to the remote SSH host, you can edit any text files directly from the VSCode editor and execute shell commands as if you were connected via an SSH client (click Terminal -> New Terminal to open a console prompt).
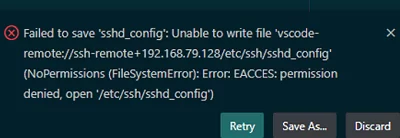
sudo), you will get the following error::Failed to save 'sshd_config': Unable to write file 'vscode-remote://ssh-remote+192.168.79.128/etc/ssh/sshd_config' (NoPermissions (FileSystemError): Error: EACCES: permission denied, open '/etc/ssh/sshd_config').
One solution to this problem is to use the VSCode extension Save as Root in Remote – SSH. Once this extension is installed, you can save the file in sudo mode using the Save as Root command.
Both password and SSH key-based authentication are supported in Remote SSH.
Let’s try to configure SSH key-based authentication on a remote Windows host:
- Generate an SSH key pair on the client:
ssh-keygen -t ed25519In this example, Windows 10 with the built-in SSH client is used. - Copy the public key file
C:\Users\%username%\.ssh\id_ed25519into the fileC:\Users\user1\.ssh\authorized_keyson your remote host (here, user1 is the user name you will connect with); - Check that the following option is enabled in the OpenSSH server configuration file on Windows:
PubkeyAuthentication yes
- Now open the file C
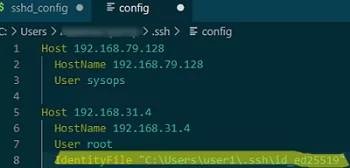
:\Users\%username%\.ssh\configwhich contains the VSCode connection settings for SSH hosts. Find the host and add the IdentityFile parameter with the path to your private key file:
Host 192.168.31.4
  HostName 192.168.31.4
  User root
  IdentityFile "C:\Users\user1\.ssh\id_ed25519"
F1 -> Remote-SSH: Open SSH Configuration File.Now the connection to the SSH host will be done with key-based authentication (no password required).
You can use the LocalForward directive to configure SSH tunnels and port forwarding. Or you might want to use the ForwardAgent and ProxyJump directives instead:
Host PublicJumpServer1
  HostName public.woshub.com
  User user1
  ForwardAgent yes

Host PrivateServer1
  HostName private.contoso.com
  User user1
  ProxyJump PublicJumpServer1
